This blog post is from the Bonus section of the book that accompanies the Silhouette Cameo and accessory package sold at www.deseretdesigns.com.
You
can use what you have learned about pattern design and create a wrap to go
around the entire side of the cake. This technique makes quick work of
decorating the side of a cake. You can cut out the entire length of the design
and easily apply it to cake.
This
process begins with the inspiration for your cake. The cake we are designing
has a chevron pattern, ruffles and dots. Each tier of this cake is quickly
created in the Silhouette Studio program and the designs are cut out of gum
paste.
This
is a 9”, 7” and 5” cake. My bottom tier measures 29 “. I want my finished
design to be the exact measurement of my cake. I like to make my designs early
in the week, before my cakes are baked. I keep track of my finished cake
measurements and have a good idea of the finished circumference of each size.
If my measurement must be exact, then I will wait until the cake is covered in
fondant before I cut the design out of gum paste. I can have the design work
finished and saved so all I have to do is measure my finished cake, make any
adjustments to the finished size of the design and then cut the design.
Open
the Silhouette Studio and size a mat to fit your finished project. If the
design is longer than 24” then you need to select NONE under CUTTING MAT. Since
the circumference of my 9” round cake is 29” I need to have a cutting area of
about 36”. This will give me plenty of design space.
I
use the drawing tool to draw the rectangle. My cake will be about 4 ½” tall and
I need my design area to be 29” long.
CREATING
THE CHEVRON PATTERN
Decide
how wide and long you want each section of the chevron to be. You may need to
experiment with different lengths and widths of rectangles until you achieve
the look you desire. I am working with a ½” x 2 ½” rectangle.
With
the design selected, go to OBJECT and click on ROTATE. Then click on ROTATE by
45* clockwise.
Now
click on the knife tool and draw a parallel line at the top of the rectangle.
Do
the same thing for the bottom of the rectangle.
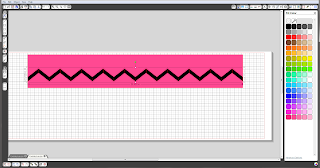
Delete
the sections you have just cut off. Open the color window and add black to the
design. It is easier to work with sections of the design when they have color
added to them.
I
have added color to the base rectangle. Click on the REPLICATE window and go to
the ADVANCE OPTIONS. Choose the option for the duplicates to go to the right.
The number of duplicates will depend on how wide your final measurement is.You may need to add or take away duplicates.
Select the second duplicate to the right and go to OBJECT and
click on TRANSFORM. Then click on FLIP HORIZONATALLY.
Do this
for every other rectangle until you have created the chevron pattern.
Delete the last section of the chevron. The first and last
part of the chevron must point in the same direction.
It is time to make this chevron fit the length you need.
Select the entire chevron design and pull it out to the length you need. When
you select your design you will see the height and length.
Separate the design from the colored section. Go to the TRACE
window and trace the design.
You may
need to increase the THRESHOLD. You want a good trace around the entire
chevron.
Separate
the traced design. You can delete the original design because you will be
working with the traced design.
Move
the design to the bottom of the mat.
Go
to the DUPLICATE window and open the ADVANCE OPTIONS window. Click on ABOVE and
select the number of duplicates you would like.
If
you add color to each chevron it will be easier to see the design.
Click
on each chevron and move them until they line up. Use the arrow on the computer
keyboard to keep the designs lined up. When the design pieces fit together
select the entire design. Go to OBJECT and select GROUP.
Move
the design to the colored rectangle. This gives you a chance to see how the
colors work together and if the design is the correct size. You can re-size
your design to fit the area.
For
this design I will need to cut 2 black, 1 white and 2 gray sections. With the
entire design selected, go to OBJECT and click on UNGROUP. Separate the
chevrons from each other.
Now
that my design is sized and correctly positioned I am ready to cut my design
out of gum paste. I can also save the design at this stage and cut the design
at a later date. It will be easy to make any minor adjustments to the width and
length so that the design will fit perfectly around the cake.
My
longest cutting mat is only 24” long. I tapes 2 mats together to give me the
length I needed.
I
use freezer paper for my carrier sheet. I can get white freezer paper from the
grocery store and it is very economical to use.
Cut
the freezer paper a bit longer than the length of the finished design. If your
mat is not very sticky, you may need to use tape and tape the edges to the mat.
Have the shiny or wax side of the paper down.
For
this project I cut my paper to 35”. The paper is wider than my cutting mat, so
I needed to trim the width.
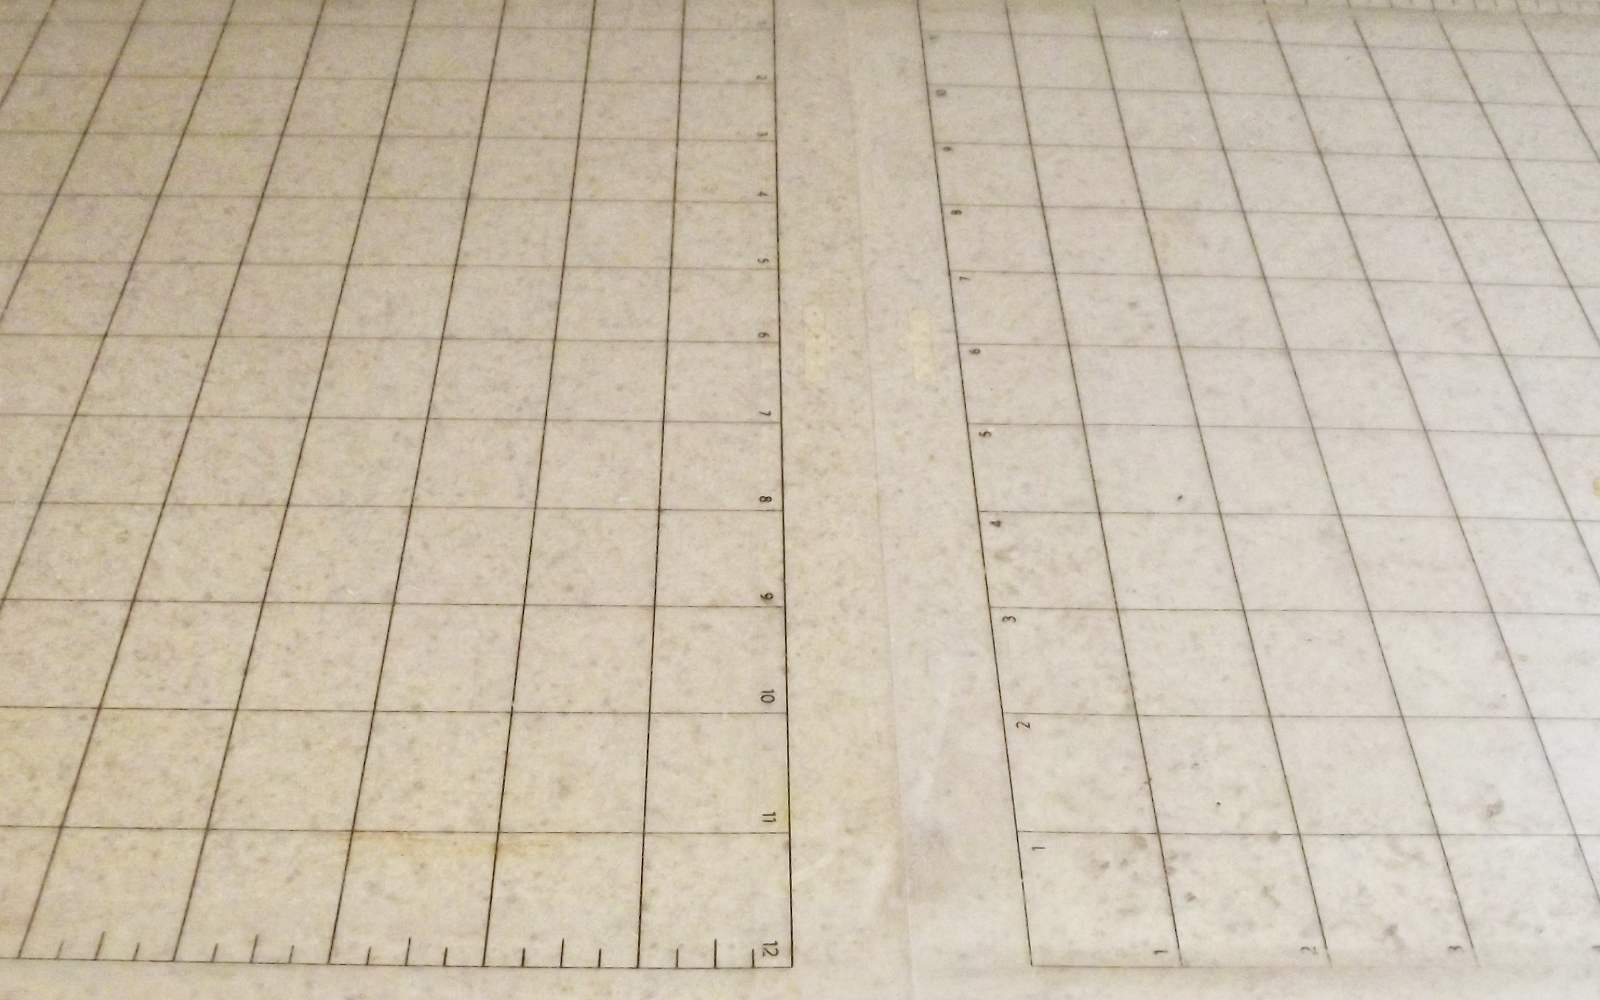
For
this demonstration I drew the grid lines onto the freezer paper. This will help
me line up the gum paste on the paper with the design on the computer.
You
need to put another piece of the freezer paper on top of the first paper taped
to the mat. This paper needs to be a bit wider than the finished design. If my
cutting area is 4-5” wide, I would probably have a piece of paper cut about 8”
wide and the length of the base paper. Apply a thin coat of shortening to the
base paper. This is the glue that will hold the top paper to the mat. Place the
top paper on top of the shortening covered paper, making sure it is in the
correct position. Put the shiny side down. You may need to put some tape on the
top edge of the second piece of paper to help hold it in place. Be sure to rub
the paper with your hand to make it stick to the bottom paper. The shortening
does a good job holding the paper in place.
Using
a brush, apply shortening to the top paper. This is the adhesive to hold the
gum paste in place.
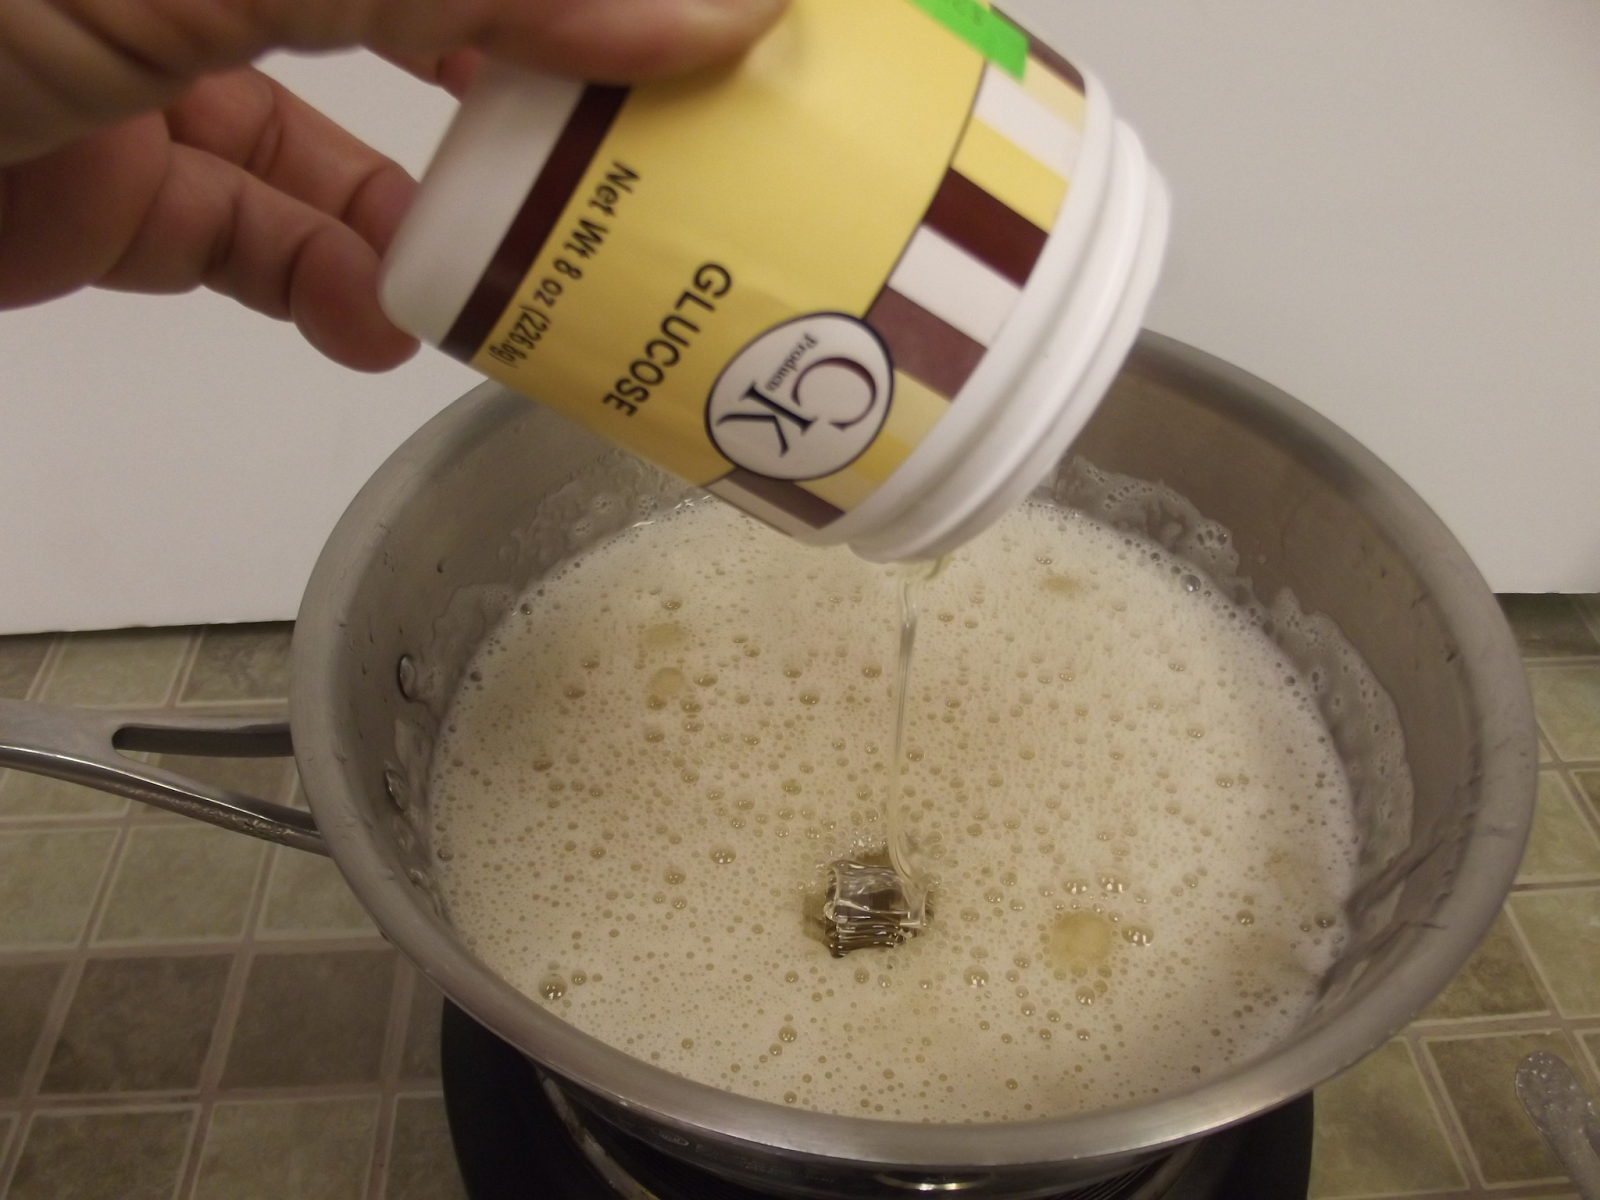
You need to roll out the gum paste with your
pasta machine. I use the attachment to my Kitchen Aid mixer. Roll out the gum
paste just like you would for any project. The only difference is the length.
Be sure to roll a piece several inches longer than you need. For this project I would roll my gum paste to
about 36”. This way I am sure that my gum paste will fit in the cut area.
If
the gum paste is soft and really fresh, you may need to let it sit out for a
few minutes. The amount of time depends on your humidity and also how soft the
gum paste is. You should be able to easily pick up the piece of gum paste to
place it on the carrier mat.
When
the gum paste is ready, carefully place it on the carrier mat. Make sure it is
straight and in the correct position.
I
need to make sure that my mat will feed correctly and that my design will cut
where the gum paste is placed.
I
have added 4 small circles just past my design.
My
first cut will be just the circles, so I select my entire design and delete it.
I will bring it back to the mat when my practice cut is finished.
Load the mat into the
Silhouette and cut the circles.
It
is very important to load the mat correctly. If it is slightly off, it will
feed through the Silhouette in a crooked manner. I watch the mat feed through
the machine to the bottom of the gum paste. If it does not feed through in a
straight line, stop the process and re-load the mat. If it did go in straight
then let the Silhouette cut your spacing circles. This example shows that the 4
circles were cut in the gum paste. Do not un-load your mat. When I removed the
circles I could tell that I got a nice, clean cut. So now I know that not only
will my design fit on the gum paste, but also that my pressure setting is
correct.
Use
the back arrow to restore the design to the computer screen. Delete the circles
at the end of the design. You are now ready to cut your design.
Remove
the excess gum paste. The design is perfectly cut.
Now
repeat the process for the other colors. You do not have to cut out one color
at a time. You can put multiple strips of gum paste on your carrier mat. You
need to make sure that the design will cut out on the gum paste. Add circles to
the end of the design.
Delete
the design from the computer screen but not the circles.
For additional cuts you
need to replace the freezer paper that the design is cut on. Make sure it is
wide enough for you gum paste. Attach it with shortening, and brush shortening
on the top. Apply the gum paste to the top paper.
Load
the mat into the Silhouette. Make your practice cuts. If the circles cut in the
correct spot on the gum paste you will know that the design will cut correctly.
If the circles are off, you can easily readjust the design on the computer. You
may need to move it up or down. The important thing is for the design to fall
where the gum paste is placed.
Do
not un-load the mat from the Silhouette. Use the back arrow to restore the
design to the computer screen. Delete the circles and cut out the remaining chevrons.
The
chevron strips are cut and ready to assemble.
You
need to keep the bottom black chevron on the freezer paper. It is properly
spaced and the base of your completed design. Carefully remove the next color
and place it in place on top of the black chevron.
Continue
building the chevron design by adding additional strips.
If
you are not ready to use the design, it can be stored in the freezer. Carefully
roll it up.
When
you are ready to apply the design to the cake, take it out of the freezer. It
will thaw quickly, but will be brittle at first. Be careful to not crack or
break the design. As it thaws out you can un-roll it. Be sure the design stays
attached to the freezer paper.
Carefully
trim the excess freezer paper. The freezer paper will keep everything together
as you apply the design to the cake.
Pick
up your design and hold it up to your cake. You will get a good idea for
placement on the side of the cake.
The
top of the design is going to be touching the cake. Lay the design down and
brush a light coat of shortening on the top. You may also want to brush a light
coat of shortening on the cake, in the area the design will be.
Match
up the center of the design with the center front of the cake. Position the
design and press lightly to start attaching it to the cake.
Continue
wrapping the design until it meets in the back.
Carefully remove the freezer paper.
Use
a soft, clean brush to wipe away the excess shortening on the top of the
design. Brushing the design will help it attach to the cake.
If
you measured correctly, the design will meet up perfectly at the back of the
cake. There are times, especially when you cut your design out ahead of time
that it does not match up. This is why we have a front and back to our cakes.
If
your chevron design does not meet, and there is a small gap, it is easy to fix.
Cut
a filler strip, and match the cut. Attach the strip to the cake covering the
gap.
The second tier of our cake is covered
in ruffles. You need to mark the placement for the ruffles. Decide how far
apart you want the ruffles to be placed. I use my Agbay cake leveler to do this
job for me. More information here: http://www.agbayproducts.com
Carefully
and lightly press the blade of the leveler into the side of the cake. Go around
the cake. Re-position the blade and mark another row. I am marking my rows at
1” intervals. If I need to add more than 4 rows of ruffles, I can still use the
marks as a guide.
My cake with the imprinted
marks.
Your
ruffle can be a straight cut ruffle or you can create a fancy ruffle in the
Silhouette Studio program. Start with a scallop shape. Trace the shape and add
black color to it.
In the PAGE window, make
the mat the size you will need for your ruffle. My 7” tier measures 22 ¾” in
circumference. A 30” mat will be long enough.
Duplicate
your design. Add more than you think you will need. You can delete any extra
later.
Move
each design to the left and slightly over-lap.
Instead
of working with all of the design elements, try working with a small group.
Select
the 3 elements of the design and group them together.
Replicate
each group, and over-lap
Continue
until you have the length you need. If the design is longer than you need,
simply un-group the design and delete any extra elements.
You
can make slight adjustments to the ruffle length after you have the basic
design.
Trace
your design.
Delete what you have traced
and add black color to the ruffle.
The
ruffle needs to be wider. Draw a rectangle box the length of the design. Make
it as wide as you want the ruffle to be.
Select
the entire design go to OBJECT and click on MODIFY. Now click on WELD.
Use
the knife tool to straighten up the ends.
You
can fine tune the length and width of the ruffle now. Duplicate the ruffle to
fit the width of your gum paste.
Add
the circles to the end of the design as a guide for cutting.
Use
the freezer paper on the cutting mat. Add a second piece of freezer paper,
shiny side down. Be sure to put a light coat of shortening on the paper. Apply
the gum paste to the paper and load it into the Silhouette.
If
the circles cut correctly and the placement of the design to the gum paste is
good, then cut the design.
There
are several ways to work with the ruffle. You can use your ball tool to ruffle
the edges, you can use a floral veiner to add detail or you could put it on
flat. You decide the look you would like.
For this project I used a deep floral veiner to add detail to each
section.
Start
at the back of your cake. You will attach the ruffle to the cake with a thin
line of shortening. Apply the shortening to the top edge of the ruffle and
along the guide mark on the cake.
When attaching the first
row I like it to slightly drape over the tier below. The second row of ruffles should
over-lap the first row. Use the guide lines on the cake so the ruffles go on
straight. Add as many rows as you want, making sure they are evenly spaced.
You
can add as many rows as you need for the look you want.
The
top of the tier is finished with a fondant border.
The
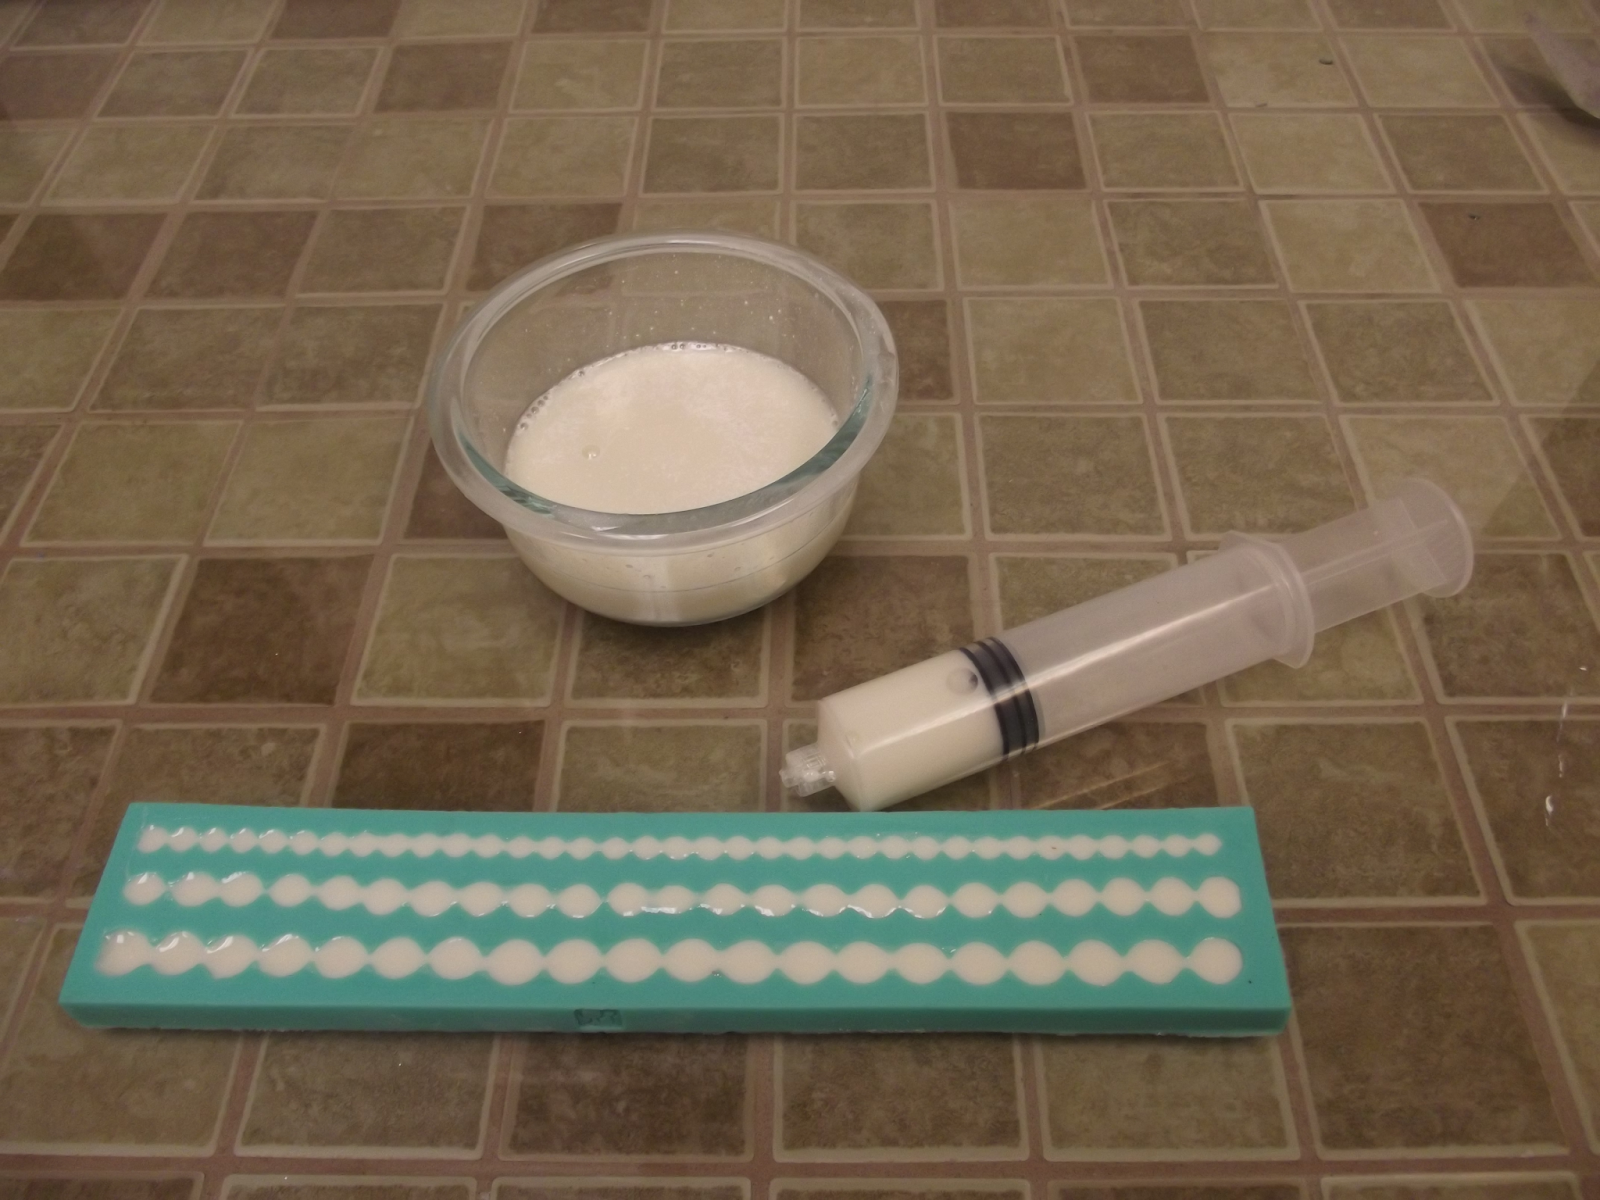
top tier of this cake is very simple. I cut several small circles from the gum
paste and attached them to the cake. I added a small ribbon border with a bow.
The Finished cake,
Other cakes with a cake wrap.


